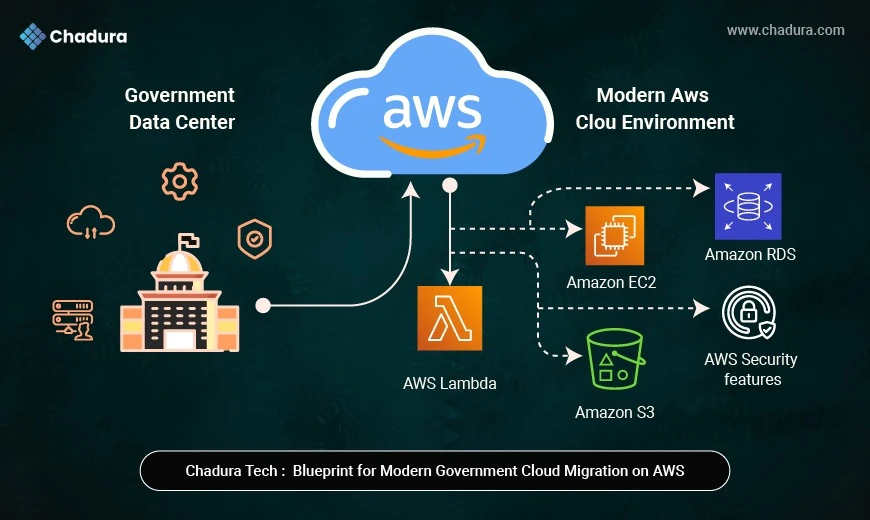
An AWS AMI (Amazon Machine Image) is a pre-configured template used to launch EC2 instances in Amazon Web Services. It contains the operating system, application server, and necessary software, along with configuration settings that define the instance's environment. AMIs allow users to quickly replicate and deploy consistent environments, simplifying the setup and scaling of cloud infrastructure. Whether for backup, disaster recovery, or creating standardized environments, AMIs streamline the process of managing and launching EC2 instances, ensuring efficiency and reliability in cloud operations.
Pros
Fast and Consistent Deployment
- Launch multiple EC2 instances with identical configurations instantly.
Customizable
- You can create AMIs tailored with specific OS, software, and configurations.
Scalable
- Easily scale environments across regions and availability zones using the same AMI.
Reliable Backup
- Acts as a backup snapshot of your instance that you can restore or clone anytime.
Automation Friendly
- Integrates well with AWS Image Builder and CI/CD tools for automated deployments.
Cons
Storage Costs
- AMIs and associated snapshots consume S3 storage, leading to additional charges.
Manual Updates
- Unless automated, AMIs must be manually updated to include latest patches and software.
Region Locked
- AMIs are region-specific by default; copying across regions requires extra steps.
Complexity with Customization
- Managing multiple AMIs for different configurations can become complex.
Security Risks if Mismanaged
- Improperly configured or publicly shared AMIs can expose sensitive information.
Creating EC2 AMIs and Launching from Backups
Step 1: Login to AWS Console and sign in with your credentials

Step 2 : In the AWS Console, select any instance, go to the Actions menu, choose Image and templates, and then click Create image.

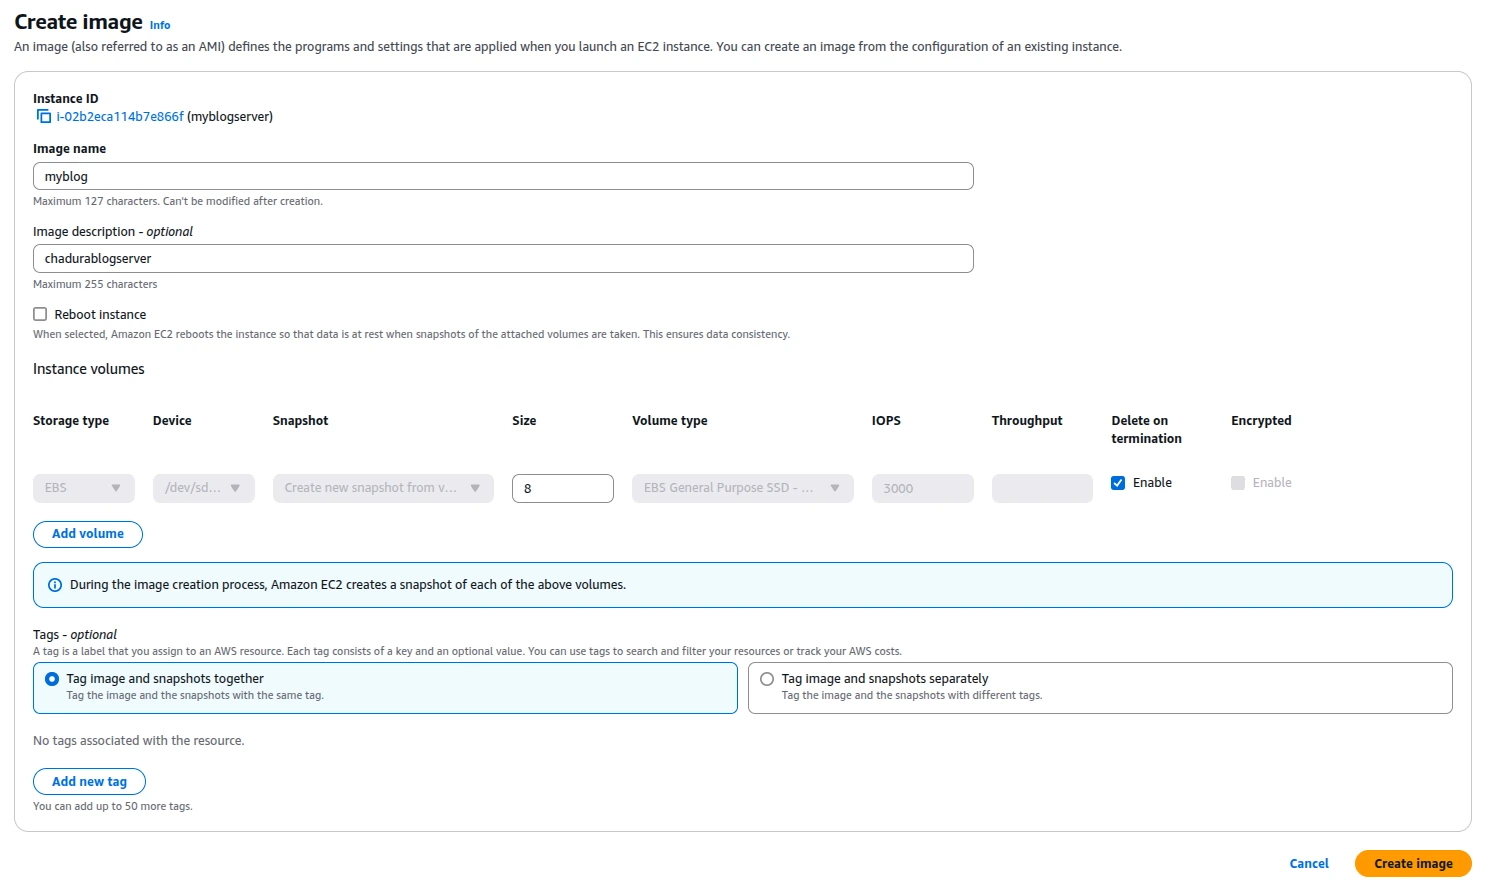
Step : 3 In the Create Image wizard, enter the image name and description, optionally select Reboot instance, add tag information if needed, and finally click Create image.
Step 4 : AMI Image Console

Recreating an EC2 Instance from an AMI
Step 1 : Login AWS Console with Login Credential and choose lanuch Instance Option

Step 2 : In the Launch an instance Tab Enter Name and tags informations

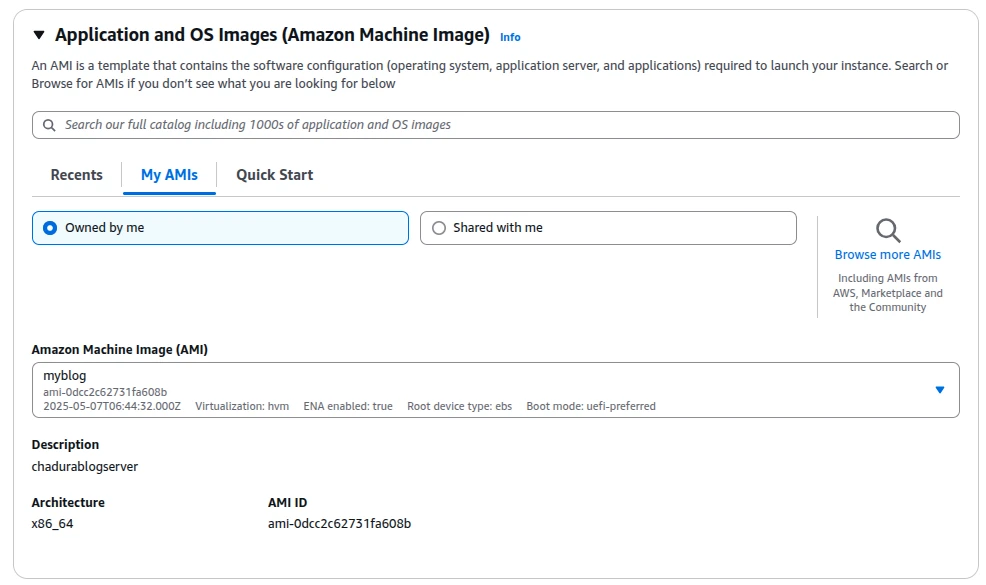
Step 3 : In the Application and OS Images tab, click the My AMIs option, then select Owned by me.
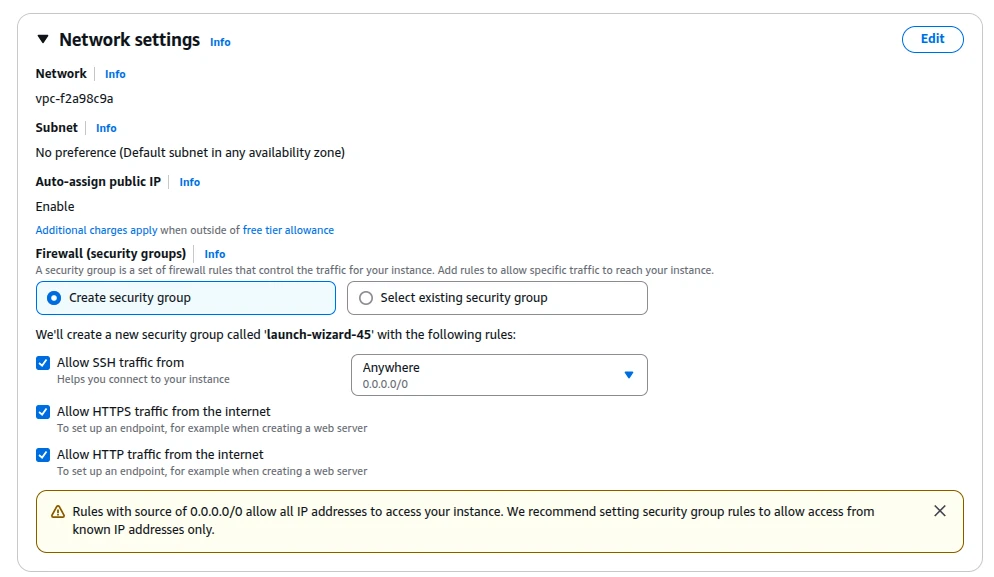
Step 4 : In the Network settings tab, create a security key pair with the correct name, and enable the following options:
- Allow SSH traffic from
- Allow HTTPS traffic from the Internet
- Allow HTTP traffic from the Internet
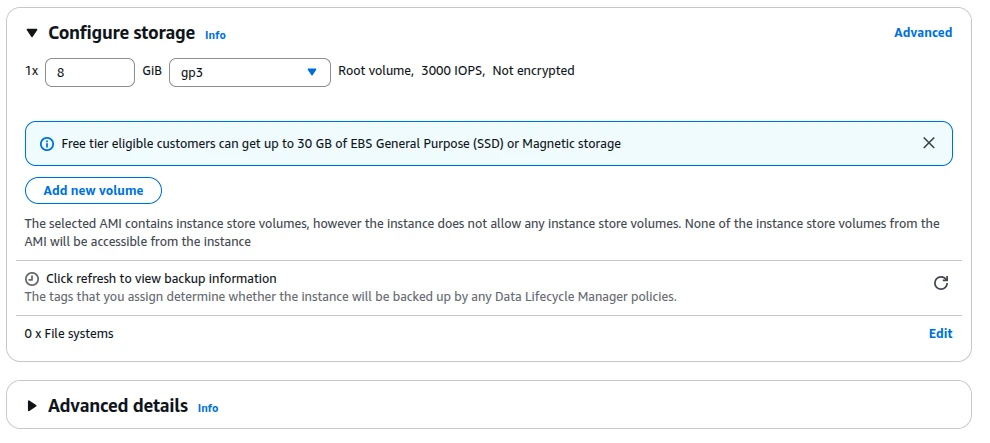
Step 5 : In the Storage tab, choose the desired hard disk size or add an additional volume as needed and Click Launch Instance.
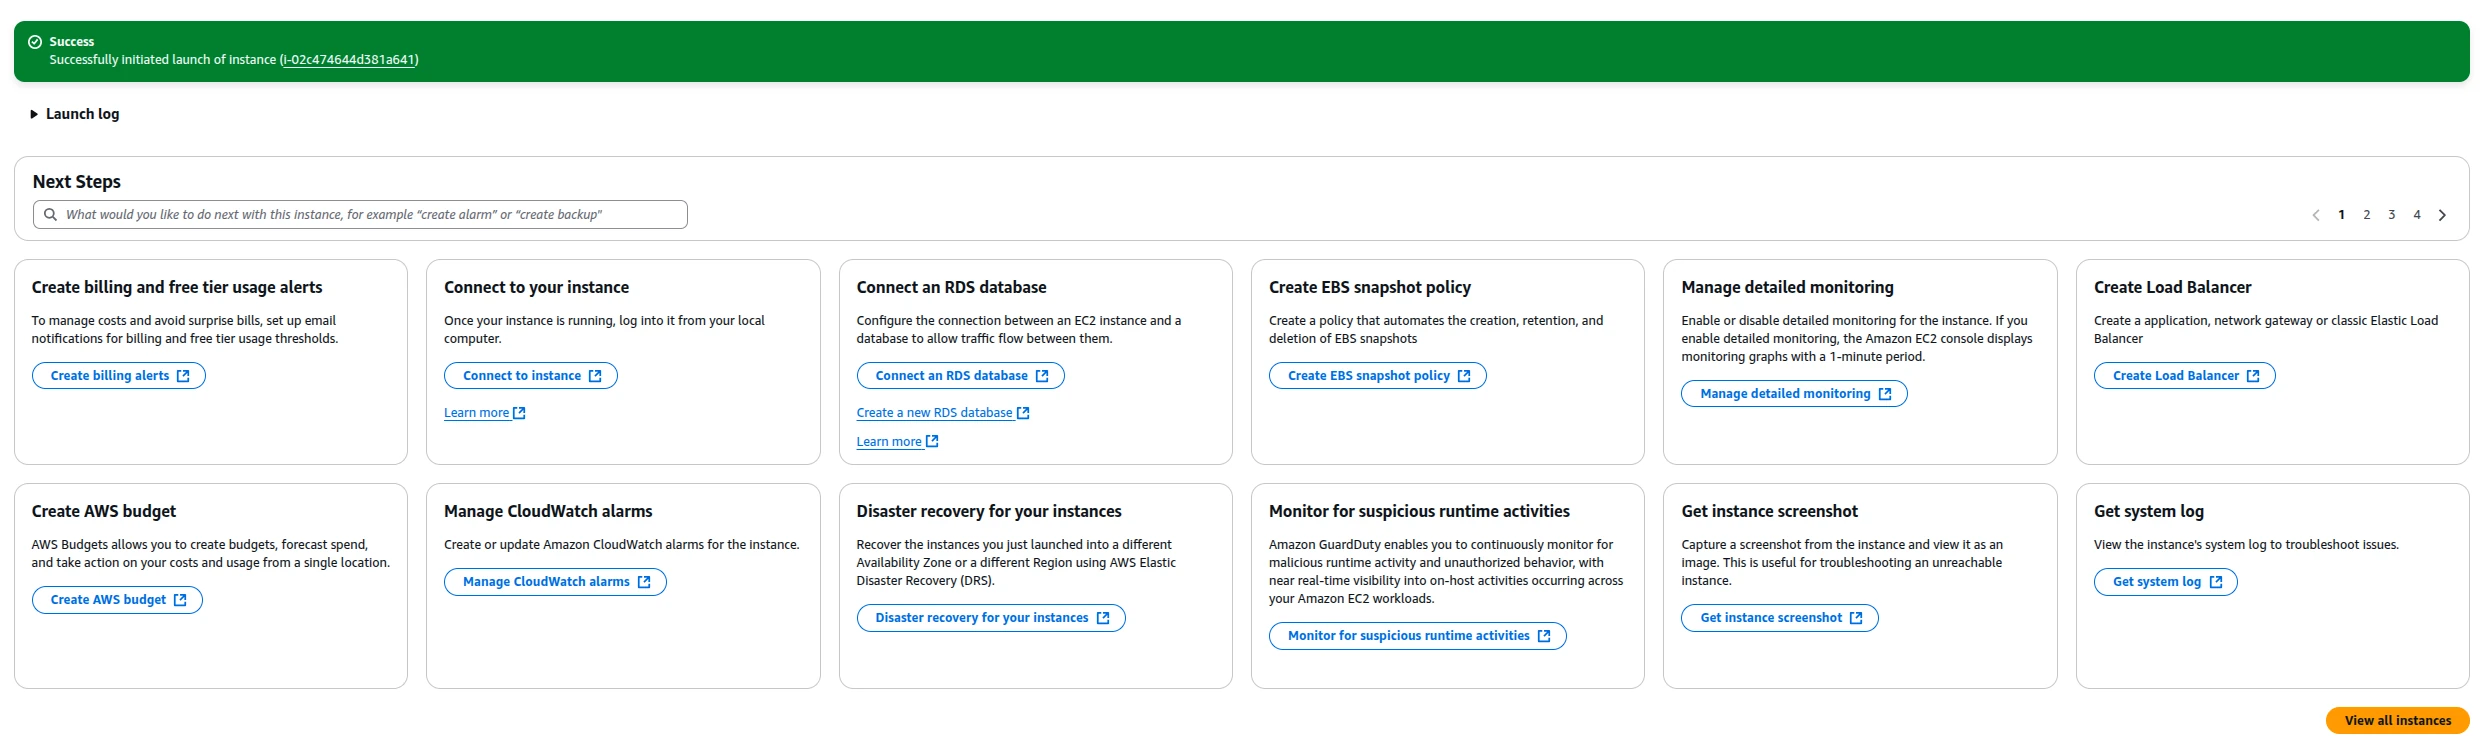
Step 6 : Instance Successful Creation Dashboard
How to De-register an AMI
Step 1 : Go to AMI Dashboard

Step 2 : Go to the AMIs console, select the desired image, click Actions, and then choose Deregister AMI.

Step 3 : AMI Dashboard